What an exciting time of year to experiment with your makeup! Between holiday parties and New Year’s celebrations it’s a must to look fabulous. Here are a few tips that will help you get the best look that lasts.
Getting started…
{1} Make sure you are hydrated and moisturized. The better your skin looks the less makeup you need to apply. The key is to enhance your beauty, not cake on makeup to cover imperfections.
{2} Make sure you have a professional brush set.
{3} Use your primers. That means eye shadow, foundation, lash, and lip. All will add to the stay power of your products.
For smoky eyes…
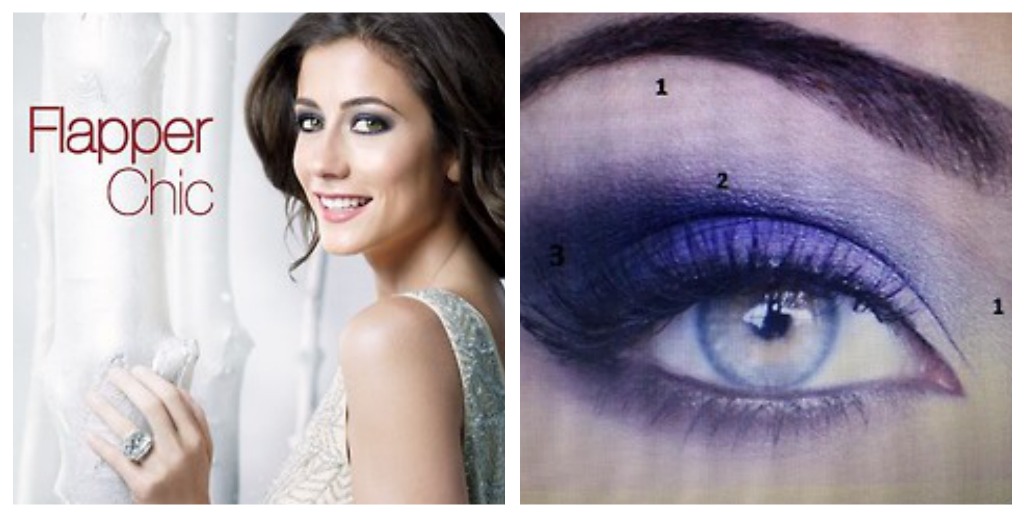
{1} Once you’ve hydrated, moisturized, and primed, take the lightest of the eyeshadows and apply that underneath your brow bone and in the inside corner of the eye.
{2} Put a tiny bit concealer in the dark shaded areas underneath the eye. Move from the inside corner to about half way down in a diagonal.
{3} You can then use a fabulous translucent powder to place on top of daytime foundation to get back to a flawless palette. Also place the dusting of powder under the eyes so you can sweep away any dark pigments that have fallen underneath while you add eyeshadow.
{5} Take your second color, or medium color and swing it from the center of the crease of your eye to either side. Keep in mind this color could be a silver, brown, chocolate, or any color you want your smokey eye to be. Then take a blending brush and blend the color out across the eye so there is not one straight line of eyeshadow.
{6} Take the darkest of the colors, your third color, and place your brush in the center of the crease and then bring it in on the outside corner where your eyeliner would start at the base of the lash line. This will make a sideways V on the outside of the eye.
{7} Most important part is to then blend these colors together so you don’t see three separate lines of color. This is key!
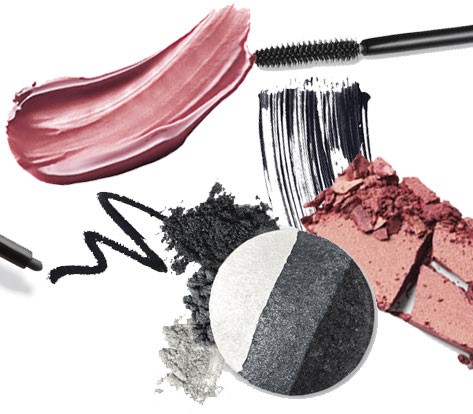
{8} For a more dramatic eye you can take black eyeliner or black liquid eyeliner and sweep it from outside to inside on the top lash line. And then from the outside into the center on the bottom. Then take a smudger brush and run it along the eyeliner to make it more smokey and softer.
{9} Apply a lash primer and let dry and finish up with multiple layers of mascara of your choice!
For festive lips…
{1} Apply a lip primer to the top of the lips and let it sit a minute.
{2} Take a liner of choice and apply it along the natural line of the lip. I love a clear lip liner because it allows the lipstick not to bleed and keeps the lipstick true to its color.
{3} Apply your lipstick of choice.
The finishing touches…
{1} Add a little bit of bronzer to the places of the face that the sun would naturally hit. Try the corners of your forehead, the cheekbones, straight down nose, and straight across the chin.
Do you want a trial run of your evening holiday look? Reach me on my website to get a custom holiday makeover! I can also talk to you about fabulous Mary Kay products that will complete this look. And be sure to register on my website for your chance to receive a $15 gift card towards any products you would like! Happy holidays!